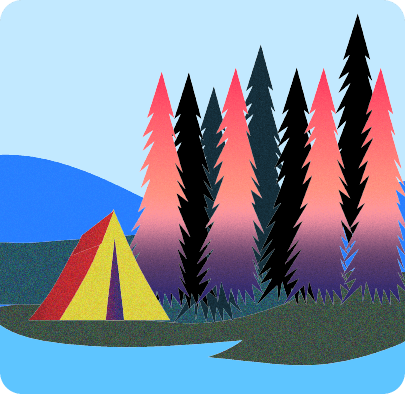
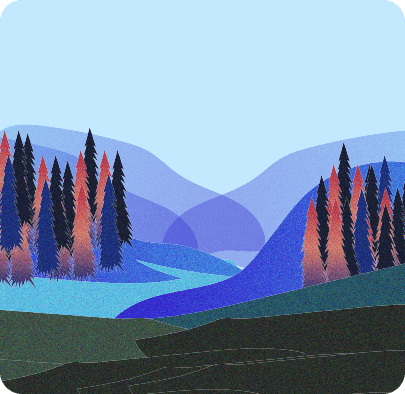
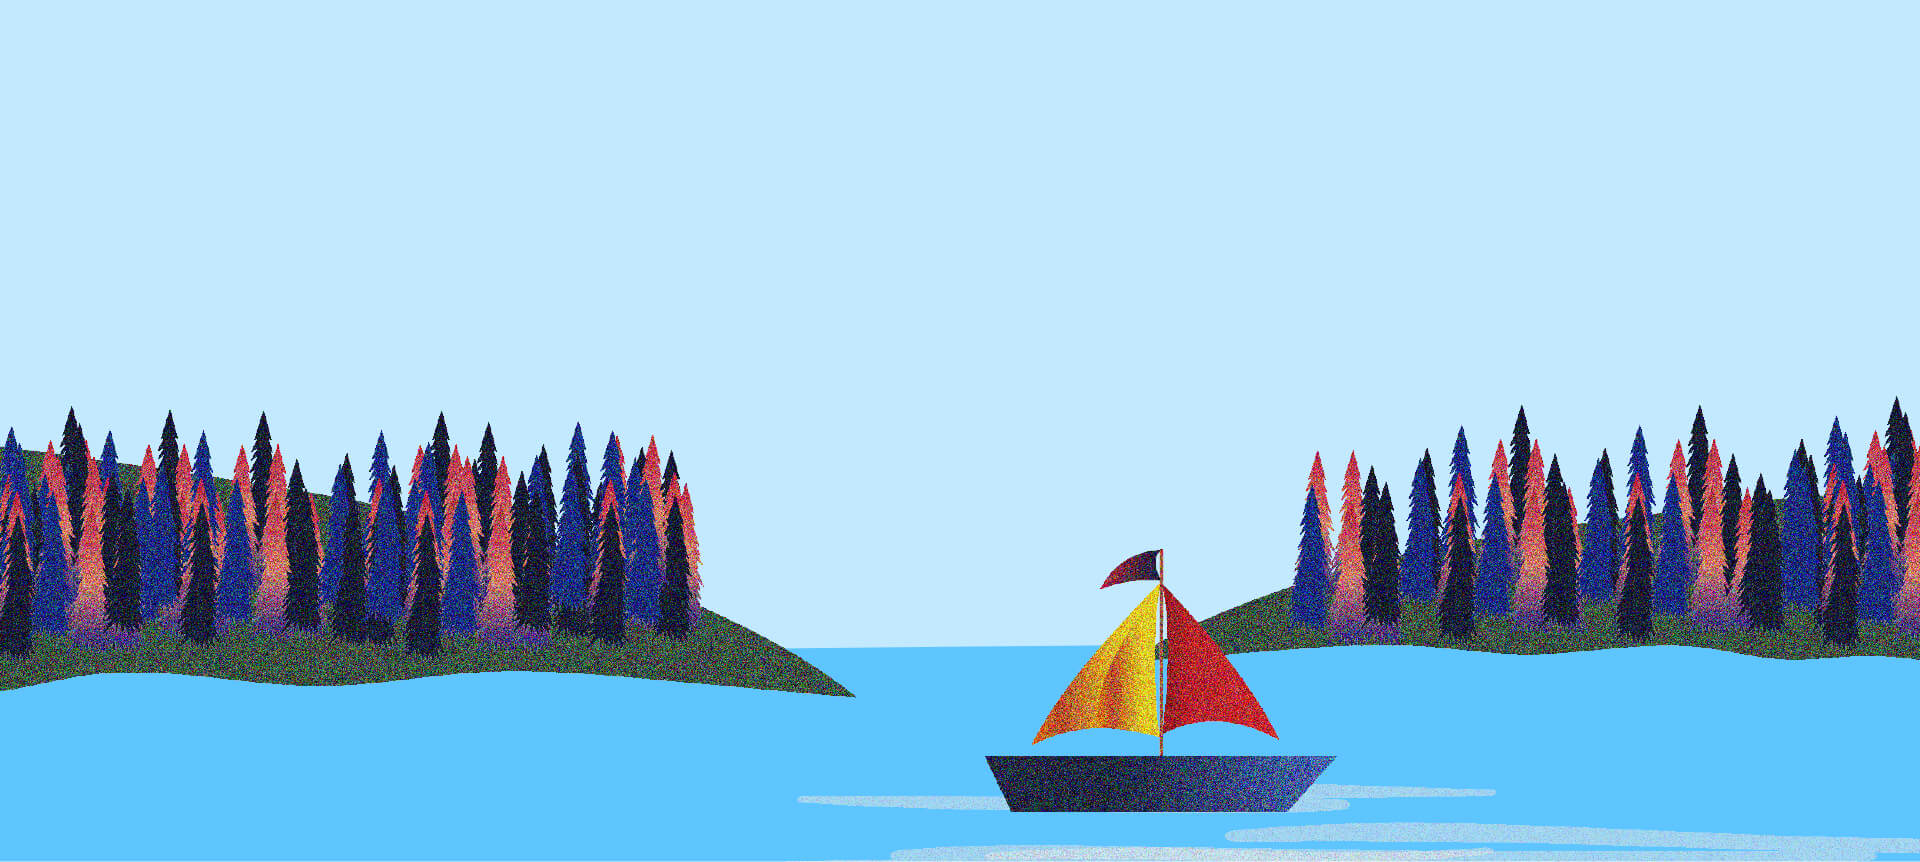
For Non-Nerds :)

How To Pick A Good Web Host

The first thing you need to consider when creating a web site for the first time is which web host you will use. There are thousands, possibly tens or hundreds of thousands of web hosts out there and this can be overwhelming for a beginning webmaster. This article will serve to clear up some of the common misconceptions about web hosting as well as help you understand what you need to look for in a web host.  Picking a good web host is crucial to your web site’s success because a less than stellar host could cost you visitors if your web site is having reliability issues.

What is a web host anyway?

A web host is where your web site lives on the internet. It is the physical computer that your web site is stored on. All web sites need web hosting and yours is no different. Sure there are free web hosts and it’s easy to create blogs on sites like blogger.com, but the problem is that you lose total control over the sites and isn’t that why you’re creating a web site in the first place? There are near limitless choices when it comes to web hosting, but in my opinion, there are only a few key features you need to look at and understand when choosing your web host.

PHP or ASP?

The most important thing to look for in a web host at this point is whether or not they support PHP or ASP. PHP is the web programming language used by Wordpress, the content management system we are going to use to set up your web site. ASP is Microsoft’s web programming language. If the web host you choose does not support PHP, then none of this is going to work!

Most web hosts support PHP because it is free and open source. That means that it doesn’t cost the web host anything out of pocket, such as a license they’d have to buy from Microsoft. Because PHP is free and open source, it also has a massive development community for the same reason: no license fees. This means that at least for the foreseeable future, a web host with PHP support is the way to go because in my opinion, Wordpress is the best choice for putting together a web site nowadays.

Data Transfer

Another feature that web hosts like to compete on and advertise prominently is data transfer, also known as bandwidth. This is the amount of data that they allow to be downloaded from your site each month. This includes everything from the web pages themselves, to images, videos, audio and anything else you can think of.

Many web hosts such as Bluehost advertise unlimited data transfer. This sounds appealing and in a perfect world would be great, but unfortunately, it’s simply not true. That’s not a dig on Bluehost though, all web hosts that advertise it don’t really mean it. The truth is that each gigabyte of data transferred costs your web host money so to have truly unlimited data transfer would cost a fortune if your web site was extremely popular and hosted huge files. This means that if you exceed your true data transfer limit, which is some undisclosed number, they will send you a warning and if you continue to go over the limit, they will ask you to leave.

Side note: this happened to me once before with Bluehost because I was hosting massive video files that were extremely popular. I ended up moving to a different web host but I thought of it was a good thing because it meant two things:

  1. The web site was a success because we outgrew our original web host
  2. The web site was a success because the money we were making from Adsense was paying the cost of the new host

You really don’t have to worry about all this stuff yet because you’re just starting out and don’t have any visitors yet. :) Even if you have a really popular site that gets thousands of visits per day, you still
won’t have any problems with your web host unless you are hosting massive video or audio files that get hundreds of downloads a day.

Disk Storage

This is another highly touted feature of most web hosts. Many web hosts will either offer unlimited disk space or terabytes of space. This is HUGE! Don’t be fooled though, it’s not really that big of a deal unless you are hosing massive video files. The actual size of the web site you’ll probably be building will most likely be well under 100mb, including images. 1 gigabyte is 1,000 megabytes and 1 terabyte is 1,000 gigabytes. This means that almost any web host will do.

Domains

Number of domains hosted is another important feature to consider. Good web hosts will allow you to host unlimited number of domains with your account which means that if after you are successful building your first web site, you can host another one on the same account with no additional cost other than the $10 or so per year for the domain name. Other web hosts will only allow one per hosting account or will charge you for each additional domain, so make sure to stay away from those!

Fantastico

Fantastico is a web application that automatically installs other web applications with one click. This means that instead of you having to download, unzip, configure and then upload Wordpress to your web host, Fantastico will do it for you! It’s so easy and it only takes a few seconds, you’ll be up and running within minutes.

I don’t know how impressive that sounds if you’ve never done this sort of thing before, but trust me when I say that it’s a huge time saver and even though installing Wordpress manually is much easier than other content management systems, the convenience of Fantastico is amazing.

Let’s get started!

Now that you have a better idea of what to look for in a web host, let’s actually sign up for one! Next, I’m going to walk you through actually signing up for Bluehost. You’ll be surprised at how easy it is and you’ll wish you had done it sooner.

Install Wordpress With Fantastico

Congrats! You’ve made it pretty far! We’re not done yet, but you’ve definitely made it over the hurdle that most people never do. Now the next step is to use Fantastico to install Wordpress quickly and painlessly. Fantastico is an amazing application that can be used to install many other web-based applications, not just Wordpress, such as forums and other content management systems.  And what’s best is that it comes built-in to your Bluehost hosting account so you don’t have to set anything up.

Step 1: Login to CPanel

CPanel is the control panel of your web site. In addition to installing Wordpress, you can check your bandwidth usage, set up new email addresses, add additional domains, etc. To login to CPanel, just go to yourdomain.com/cpanel. Then login with your username and password that you chose when you signed up for Bluehost. The username, by default, is the first 8 characters of your domain name. So if your domain name was funnykittypictures.com, your username would be funnykit.

Step 2: Click on Fantastico

Scroll down toward the bottom of CPanel and click on the Fantastico icon:

Step 3: Click on Wordpress

Step 4: Click on New Installation

Step 5: Configure Wordpress

Now you have to set up the basics of your Wordpress site including your username which is the name that will be shown when you make a blog post to your site as well as the site name. The Description field is for you to put in your site’s tagline or slogan. Make sure that you leave the Install in directory field blank so that your new site will be accessible by going to yourdomain.com, rather than yourdomain.com/blog or something similar. Once you’ve filled everything out, click Install Wordpress.


Step 6: Confirming the details

We’re almost there, I promise! Just make sure everything looks right and then click the Finish installation button.

Step 7: All done!

You did it! Wordpress is now installed on your domain with the username and password you set up. Now all you have to do is put your email address into the last box and click Send E-mail and Fantastico will email your login details to your email address in case you forget them.

Now go to yourdomain.com and check out your new Wordpress blog! Ta-da! That wasn’t as bad as you thought it was going to be, was it? Now take a look at the next step of your creating a web site adventure: setting up Wordpress!

Signing Up For Bluehost

Now that you understand what you need to look for when it comes to web hosting, let’s get started and sign up for one! The host I recommend is Bluehost because I’ve hosted with them before and they were always reliable. I’m going to walk you through the steps of signing up to show you how easy it is. Yes, I realize that there are plenty of web hosts out there to choose from, but having used a lot in my time developing web sites, I can confidently say that I believe Bluehost is the best bang for your buck.  Yes, there are cheaper and more expensive options out there, but Bluehost has the right combination of fair price, support and features.  If you think you can take it from here, feel free to skip ahead to the next step which is installing and configuring Wordpress.

Step 0: Clicking the Sign Up button :)

Sign Up For Bluehost

Step 1: Choosing your domain

Please read the how to pick a good domain name step. Once you’re all set with that, enter your domain into the form and click next. You might be wondering if you should choose to add BlueHost domain privacy. I would go for it because it’s free and you don’t want to be getting junk mail at home because you registered a domain. Believe me, I have gotten a lot of it over the years. Sometimes it even looks like a bill or an invoice, so just get the BlueHost privacy and be done with it.

Step 3: Contact Info

Now just fill out your contact info and make sure to put a valid phone number.

Step 4: Select a plan

Bluehost has several plans available, but I wouldn’t recommend going with anything less than the 12 month plan. The 3 month price works out to $23.28 per month when you factor in the setup and domain fees. This is a lot more than the $6.95 plan, so my recommendation is that you get the 12 month plan because if you’re reading this guide, you must be serious about creating a web site!

Now just put in your desired password and click Next. You’re all set!

Step 5: Login to your new Control Panel

Now you just have to click on the Control Panel button to login. Congratulations! It’s time to use Fantastico to set up Wordpress!

An Introductory Tour of Wordpress

An Introductory Tour of Wordpress

Now that you’ve successfully set up Wordpress, it’s time to get down to the nitty gritty of setting up your site.  The first thing you have to do is familiarize yourself with where all of the features are located.  Don’t worry, this might sound overwhelming at first, but Wordpress is designed specifically to be user-friendly [...]

Posted On: November 21, 2008
Posted In: Step 3: Building
Comments: No Responses
Writing Your First Post

Writing Your First Post

Congratulations!  You’ve made it really far and now it’s time to write your first post in Wordpress!  Writing posts in Wordpress is very simple.  If you can use a word processor like Microsoft Word, you can add content with Wordpress.  Let’s get started!
Step 1: Go to Write -> Post
Step 2: Write a catchy title
You should [...]

Customizing Wordpress Overview

Customizing Wordpress Overview

By now, you’ve made the jump and registered your new domain and used Fantastico to set up your new Wordpress blog. Now we’re going to go through the basics of customizing Wordpress. Wordpress is extremely user friendly in my opinion, which is why we’re using it for this whole project. Here is what we’re going [...]

How To Install A Wordpress Theme

How To Install A Wordpress Theme

Now that you’ve sifted through a bunch of crappy themes to find the theme of your dreams, it’s time to install it!  Installing a Wordpress theme might sound intimidating right now, but it’s actually really easy and once you do it a few times it’ll be second nature and you’ll be changing your theme every [...]

How To Pick A Wordpress Theme

How To Pick A Wordpress Theme

Picking a Wordpress theme is a deceivingly difficult task. It sounds simple, right? Just look through a couple of themes, pick the best one, install it and you’re good to go, right? WRONG! Because Wordpress is so popular (because it is free and open-source), there are thousands of themes available. [...]

Adding Links to Other Sites

Adding Links to Other Sites

Links are the currency of the internet.  Not only do they pass traffic from one site to another, they also help your rankings in Google.  In addition to needing quality content, you also need links back to your site to rank high for your site’s topic.  So now that we know why we need links [...]

Adding Widgets To Your Wordpress Sidebar

Adding Widgets To Your Wordpress Sidebar

A Wordpress widget is a specific function that usually appears on a sidebar.  Some examples of common widgets are Recent Comments, Related Posts, Popular Posts, a Blogroll and many more.  They add extra functionality to your blog by providing your visitors with additional navigation options.
What widgets should I use?
It’s easy to go overboard and add [...]